
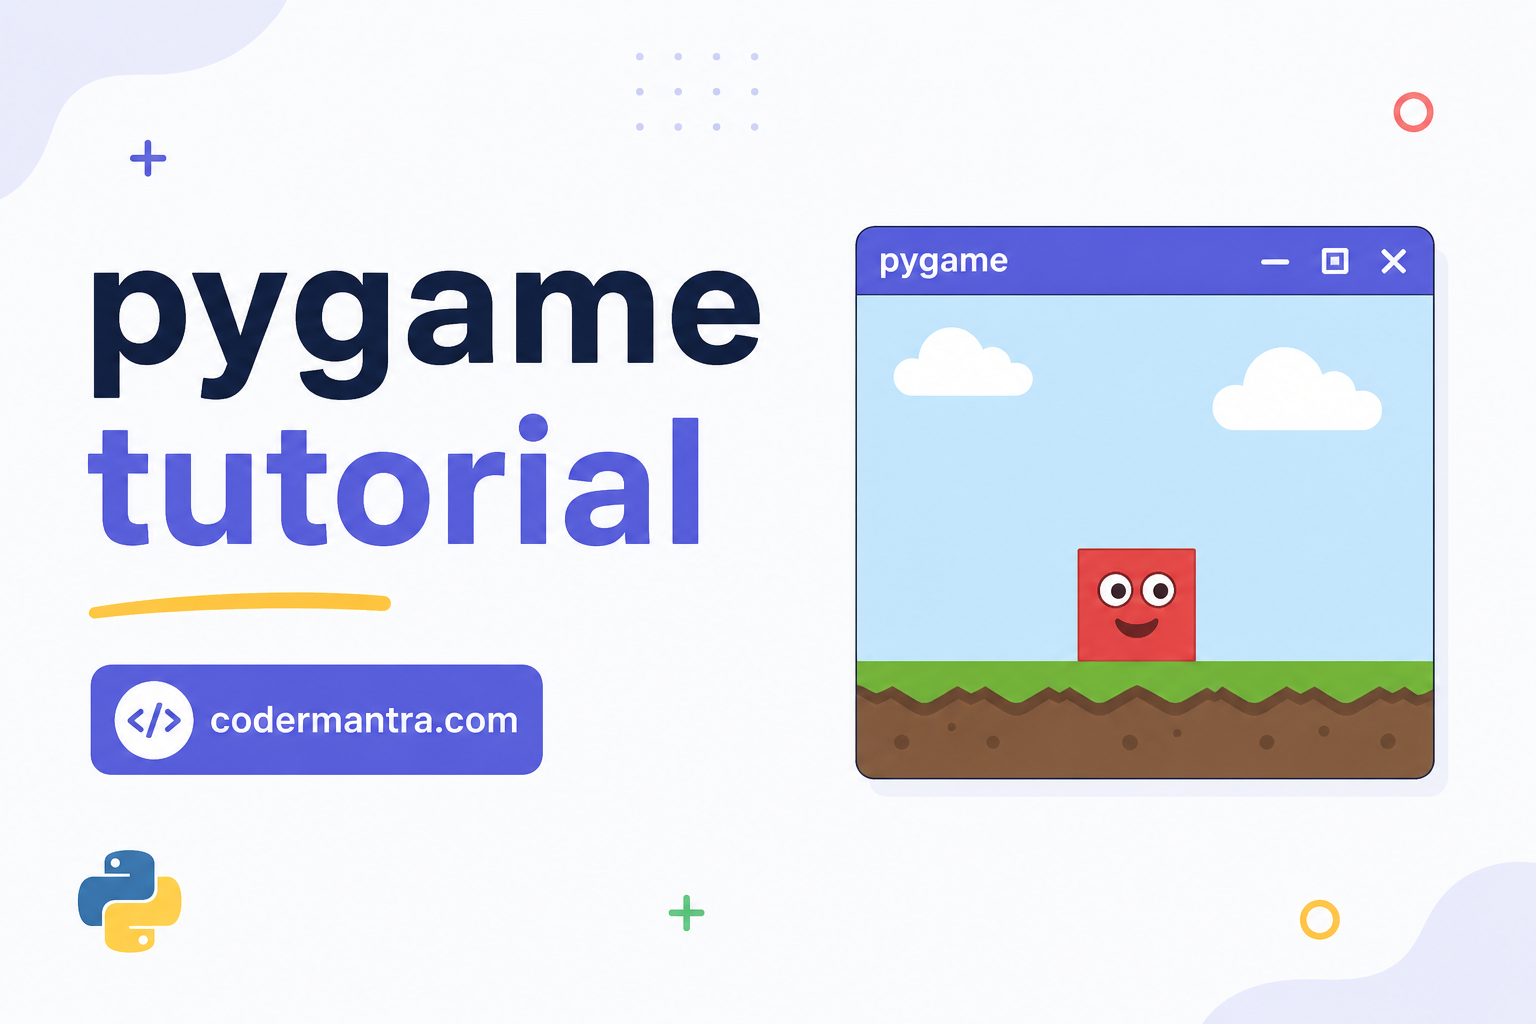
In this Add Enemy Image in Pygame tutorial, you will learn how to display an enemy in your game.
So far, our game has:
- A background image
- A player image
- Player movement
- Screen boundaries
Now it’s time to add an enemy.
The enemy will make the game more interesting. In future lessons, we will make the enemy move and interact with the player.
By the end of this lesson, your game will display both a player and an enemy.
What Is an Enemy in a Game?
An enemy is an object that creates a challenge for the player.
Examples:
- 👾 Monster
- 👽 Alien
- 🧟 Zombie
- 🦇 Bat
- 🚗 Opponent Car
- 🛸 UFO
Almost every game has one or more enemies.
Project Folder
Your project should look like this:
Lesson9
│
├── lesson9_enemy.py
│
└── images
      │
      ├── background.png
      ├── player.png
      └── enemy.png
Step 1: Load the Enemy Image
After loading the player image, add:
enemy = pygame.image.load("images/enemy.png")
This line loads the enemy image into memory.
Step 2: Choose the Enemy Position
Let’s place the enemy near the top-right corner.
enemy_x = 600
enemy_y = 100
You can change these values later.
Step 3: Display the Enemy
Inside the game loop, after drawing the background, add:
screen.blit(enemy, (enemy_x, enemy_y))
Now the enemy image will appear on the screen.
Complete Program
import pygame

pygame.init()

screen = pygame.display.set_mode((800,600))

pygame.display.set_caption("Add Enemy Image")

background = pygame.image.load("images/background.png")
player = pygame.image.load("images/player.png")
enemy = pygame.image.load("images/enemy.png")

x = 350
y = 250

enemy_x = 600
enemy_y = 100

running = True

while running:

    screen.blit(background,(0,0))

    keys = pygame.key.get_pressed()

    if keys[pygame.K_RIGHT] and x < 736:
        x += 5

    if keys[pygame.K_LEFT] and x > 0:
        x -= 5

    if keys[pygame.K_UP] and y > 0:
        y -= 5

    if keys[pygame.K_DOWN] and y < 536:
        y += 5

    screen.blit(player,(x,y))

    screen.blit(enemy,(enemy_x,enemy_y))

    pygame.display.update()

    for event in pygame.event.get():

        if event.type == pygame.QUIT:
            running = False

pygame.quit()
Run the program.
You should now see:
- Background image
- Player image
- Enemy image
Your game now has two characters.
Understanding the Code
This line loads the enemy image.
enemy = pygame.image.load("images/enemy.png")
This line stores the enemy’s position.
enemy_x = 600
enemy_y = 100
This line displays the enemy.
screen.blit(enemy,(enemy_x,enemy_y))
The blit() function is used for both the player and the enemy.
Try Different Positions
Move the enemy to different places.
Example 1
enemy_x = 100
enemy_y = 100
Example 2
enemy_x = 500
enemy_y = 300
Example 3
enemy_x = 700
enemy_y = 450
Notice how changing the X and Y values changes the enemy’s location.
Mini Project
Create a game scene with:
- One background
- One player
- One enemy
Move the player using the arrow keys and observe how the enemy stays in one place.
Practice Challenge
Challenge 1
Place the enemy in the top-left corner.
Challenge 2
Place the enemy in the bottom-right corner.
Challenge 3
Replace the enemy image with another PNG image, such as a monster or alien.
Common Mistakes
Enemy image is not showing
Check:
- The file name is enemy.png.
- The image is inside the images folder.
- The image path is correct.
Enemy appears behind the background
Always draw the background first.
Correct order:
screen.blit(background,(0,0))
screen.blit(player,(x,y))
screen.blit(enemy,(enemy_x,enemy_y))
Enemy appears outside the screen
Choose X and Y values that fit inside the game window.
For an 800 × 600 window, try values between:
X = 0 to 736
Y = 0 to 536
Best Practice
Store the position of every game object in separate variables.
Example:
player_x = 350
player_y = 250

enemy_x = 600
enemy_y = 100
This makes your code easier to read and update later.
What You Learned Today
Today you learned:
- How to add an enemy image in Pygame
- How to load an enemy sprite
- How to display the enemy
- How to set the enemy’s position
- How to create a simple game scene
Quick Revision
- Which function loads an enemy image?
- Which function displays the enemy on the screen?
- Which variables store the enemy’s position?
- Why do we use separate variables for the player and the enemy?
What’s Next?
In Lesson 10: Move Enemy in Pygame, you will learn how to make the enemy move automatically from one side of the screen to the other.
This will make your game feel much more alive and prepare you for collision detection.
Frequently Asked Questions (SEO & AEO Optimized)
How do I add an enemy image in Pygame?
Load the enemy image using pygame.image.load() and display it with screen.blit().
Can I add more than one enemy in Pygame?
Yes. You can create multiple enemy variables or use a list to manage many enemies.
What is an enemy sprite in Pygame?
An enemy sprite is an image that represents an opponent, monster, or obstacle in your game.
Why is my enemy image not visible?
Check the image path, file name, and make sure you draw the enemy after drawing the background.
Can I use any PNG image as an enemy?
Yes. You can use any PNG image as long as it fits your game’s design.
Will the enemy move automatically?
Not yet. In the next lesson, you’ll learn how to move the enemy across the screen automatically.
Written by Shubhranshu Shekhar, who has trained 20000+ students in coding.
Shubhranshu Shekhar is a coding instructor, mentor, and founder of VSIT Delhi with 20+ years of teaching experience (since 2004). He has guided many students who are now working in multinational companies and specializes in Full Stack Development, Python, Digital Marketing, and Data Analytics.